
Art Print Installation: Heights, Fixings, Layouts & Care
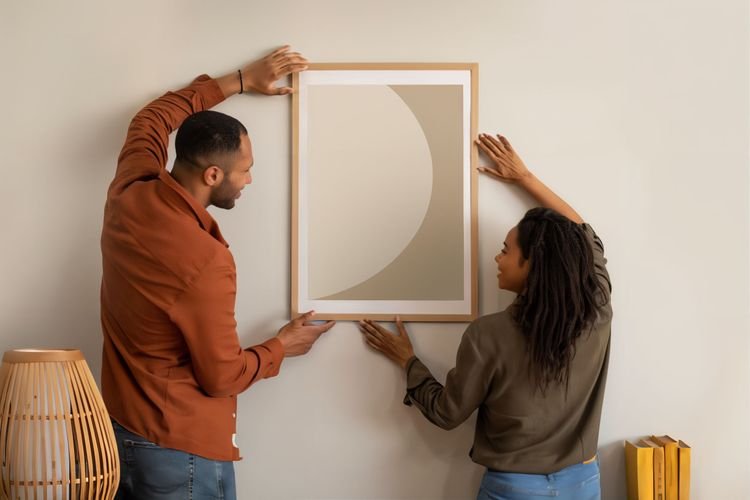
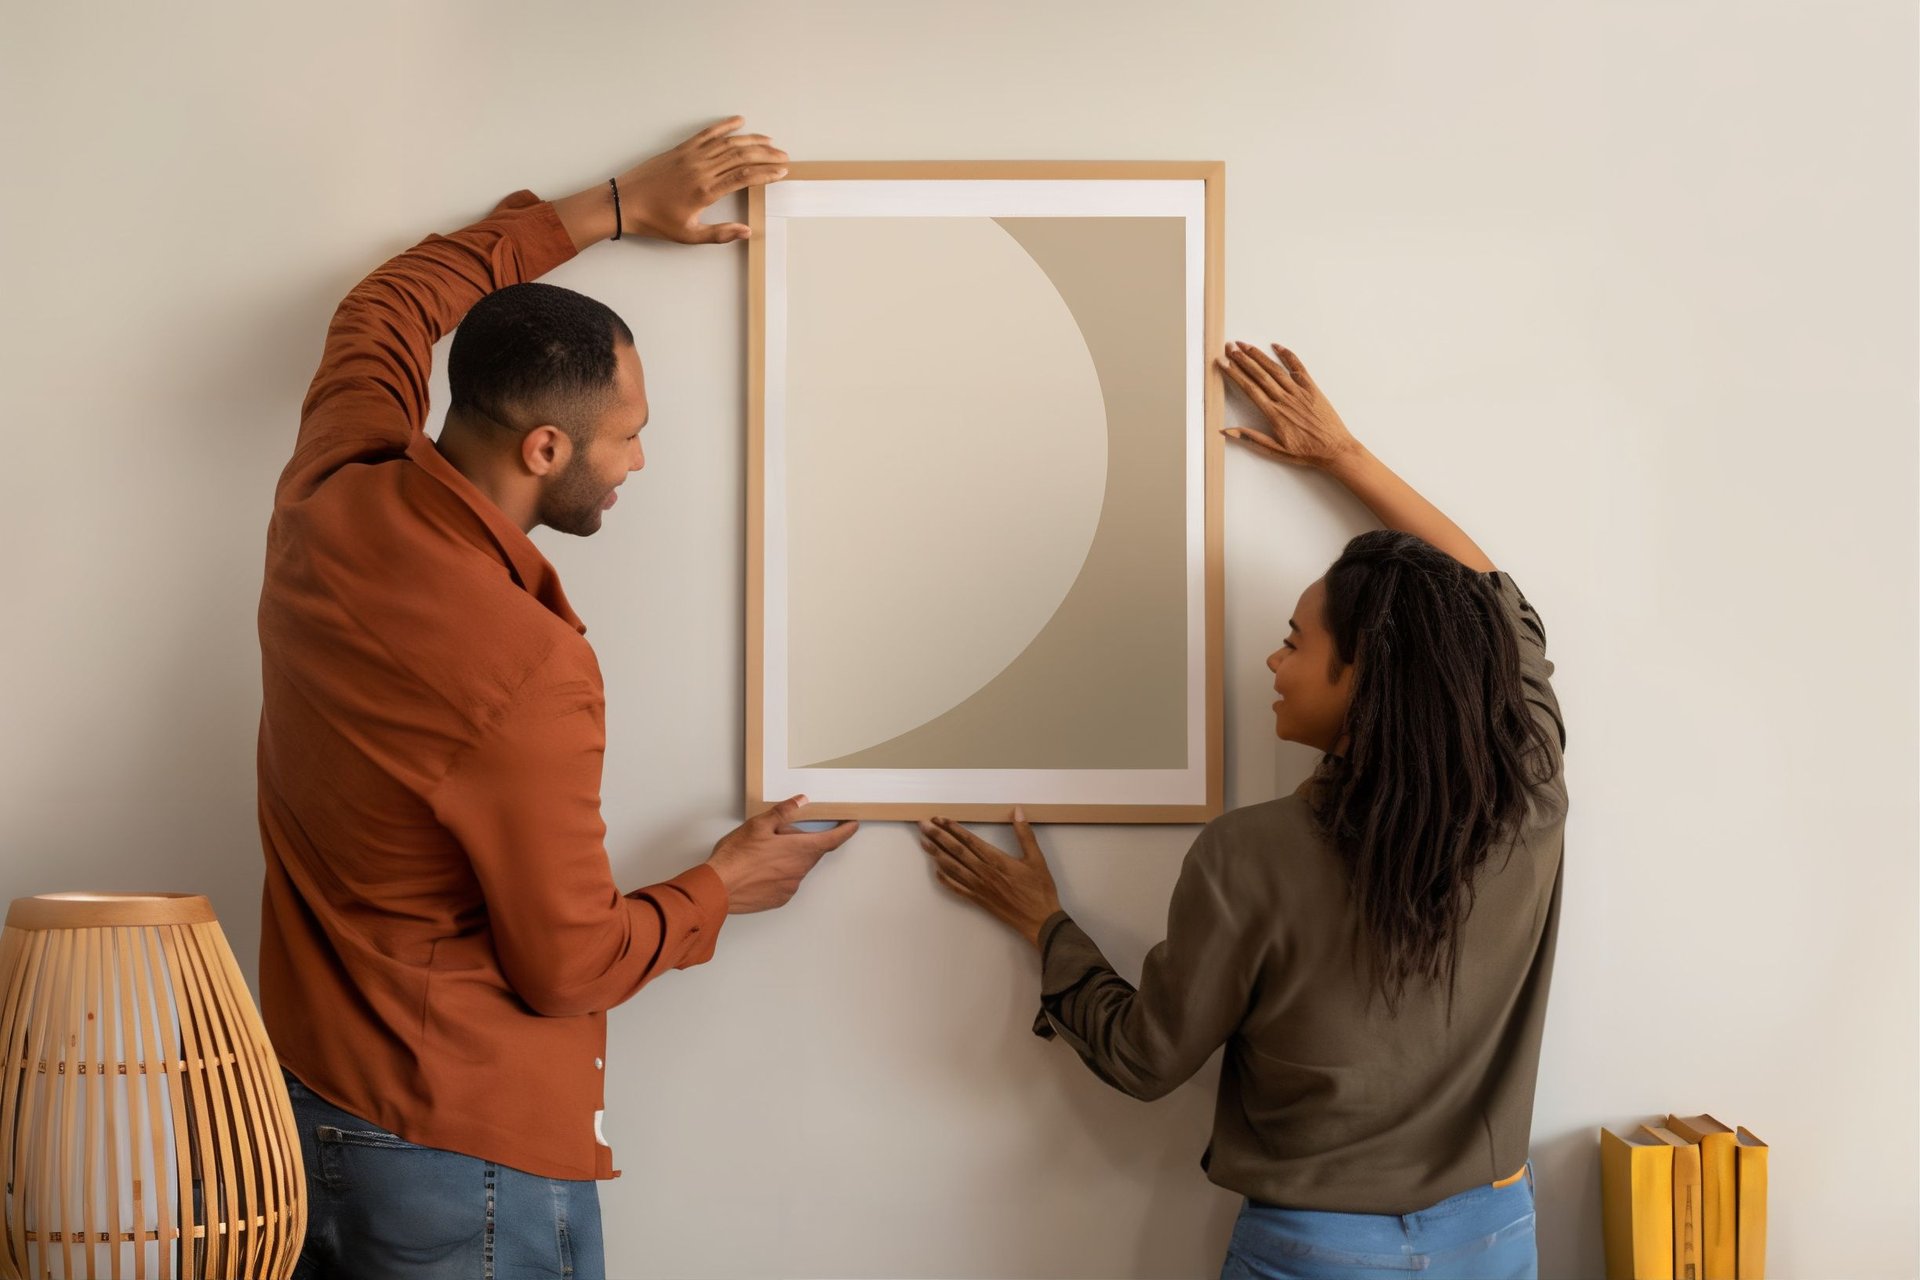
Installing prints is about sound fixings, clean alignment, and a stable environment. This guide explains planning, wall types, safe hardware, and simple steps you can follow today.
What is art print installation
Art print installation is the process of positioning and securing framed or unframed works so they hang level, look balanced in the room, and remain protected over time.
At a glance
– Centre height: aim for 145 cm from floor to artwork centre (adjust for seating or stairs). – Gaps: 6–10 cm between frames; 20–25 cm above furniture. – Match fixings to wall: plasterboard uses anchors; brick/concrete uses masonry plugs; studs are ideal. – Light & climate: avoid direct sun, damp, and heat sources. – Two-person rule: large, glazed, or heavy pieces need a helper.
Tools and materials
– Tape measure, sharp pencil, masking/low-tack tape – Spirit level or laser line; set square – Drill and bits; screwdriver – Appropriate wall plugs/anchors and hooks/screws – D-rings and picture wire, or French cleat – Soft gloves, microfibre cloth, clean blanket for staging – Felt pads/bumpons for frame corners
Plan the placement
– Sightline: set centres at 145 cm in most rooms; drop slightly in seated areas. – Scale: target ≈⅔ of the furniture width beneath. – Mock-ups: use tape or paper cut-outs to test height and spacing. – Groupings: treat pairs and rows as one block; keep 5–8 cm gaps for grids; for salon walls build around a 145 cm baseline.
Choose fixings by wall type
– Plasterboard (hollow): use toggle/spring/self-drill anchors; avoid screws into board alone. – Brick/concrete: drill pilot holes; use masonry plugs sized to screw and load. – Stud walls: fix into studs where possible; off-stud positions require rated anchors. – Tile: drill through grout where feasible; tape the tile and drill slowly with a masonry bit. – Rented homes: small, light frames may use removable adhesive hooks—check limits and paint condition.
Hanging hardware (when to use)
– D-rings + wire: versatile and easy to level; use two hooks for wide frames. – Direct D-rings (no wire): precise spacing for small/medium frames. – French cleat (split batten): best for heavy/large works; highly secure and re-levelable. – Sawtooth hangers: only for very light frames. – Security hangers: public spaces or rentals; anti-lift.
Weight cues: Over 3–4 kg → use anchors/plugs. Over 8 kg or oversize → consider a French cleat.
Step-by-step: single artwork
1.	Mark a small 145 cm centre point on the wall.
2.	On the frame, pull the wire taut; measure from frame top to wire apex (or to D-ring/sawtooth).
3.	From the 145 cm mark, add/subtract ½ frame height and the measured drop to find hook positions.
4.	Drill, fit the correct plug/anchor and hook/screw.
5.	Hang, level, and add felt pads to steady and protect paint.
Step-by-step: pairs, rows and grids
– Pairs/rows: strike a level line at the intended top or centre; mark all hooks before drilling. – Grids: draw the outer rectangle first, then subdivide to equal gaps (5–8 cm). – Above furniture: keep the lower edge 20–25 cm above tops (sofa, console), then reconcile with the 145 cm rule.
Special scenarios
– Staircases: step artworks up by riser height or run centres parallel to the handrail. – Bathrooms/kitchens: use sealed frames and spacers; avoid steam zones and hobs. – Sunlight: position off direct sun; if unavoidable, choose UV-filter glazing and light-fast inks. – Acrylic glazing: lighter and shatter-resistant; handle large pieces with two people to avoid flex.
Unpacking and handling
– Acclimatise cold deliveries for 1 hour before opening. – Stage on a clean blanket; avoid blades near the frame face. – Wear gloves; handle edges and backing only. – Inspect for cracked glazing, loose corners, scuffs or ripples; photograph issues before installing.
Care and environment
– Keep temperature and humidity stable; avoid radiators and external-wall cold spots. – Dust with a dry microfibre cloth; never spray cleaners onto glazing. – Expect minor settling; re-level after a week if needed.
Common mistakes to avoid
– Hanging too high (centres above 150 cm in normal rooms). – A tiny piece on a vast wall—group or size up. – Screwing directly into plasterboard without anchors. – Ignoring weight ratings on anchors and hooks. – Hanging in direct sun or damp areas without protection.
FAQs
Can I use removable strips? Yes—for small, light frames on sound paint. Follow curing times and weight limits; avoid textured or damp walls.
Glass vs acrylic glazing? Acrylic is light and shatter-resistant (great for large works/children’s rooms) but scratches easily. Glass is harder and can be heavier; both offer UV-filter options.
How do I hang very heavy works? Use a French cleat into studs or masonry with appropriate plugs/bolts—or hire a professional installer.